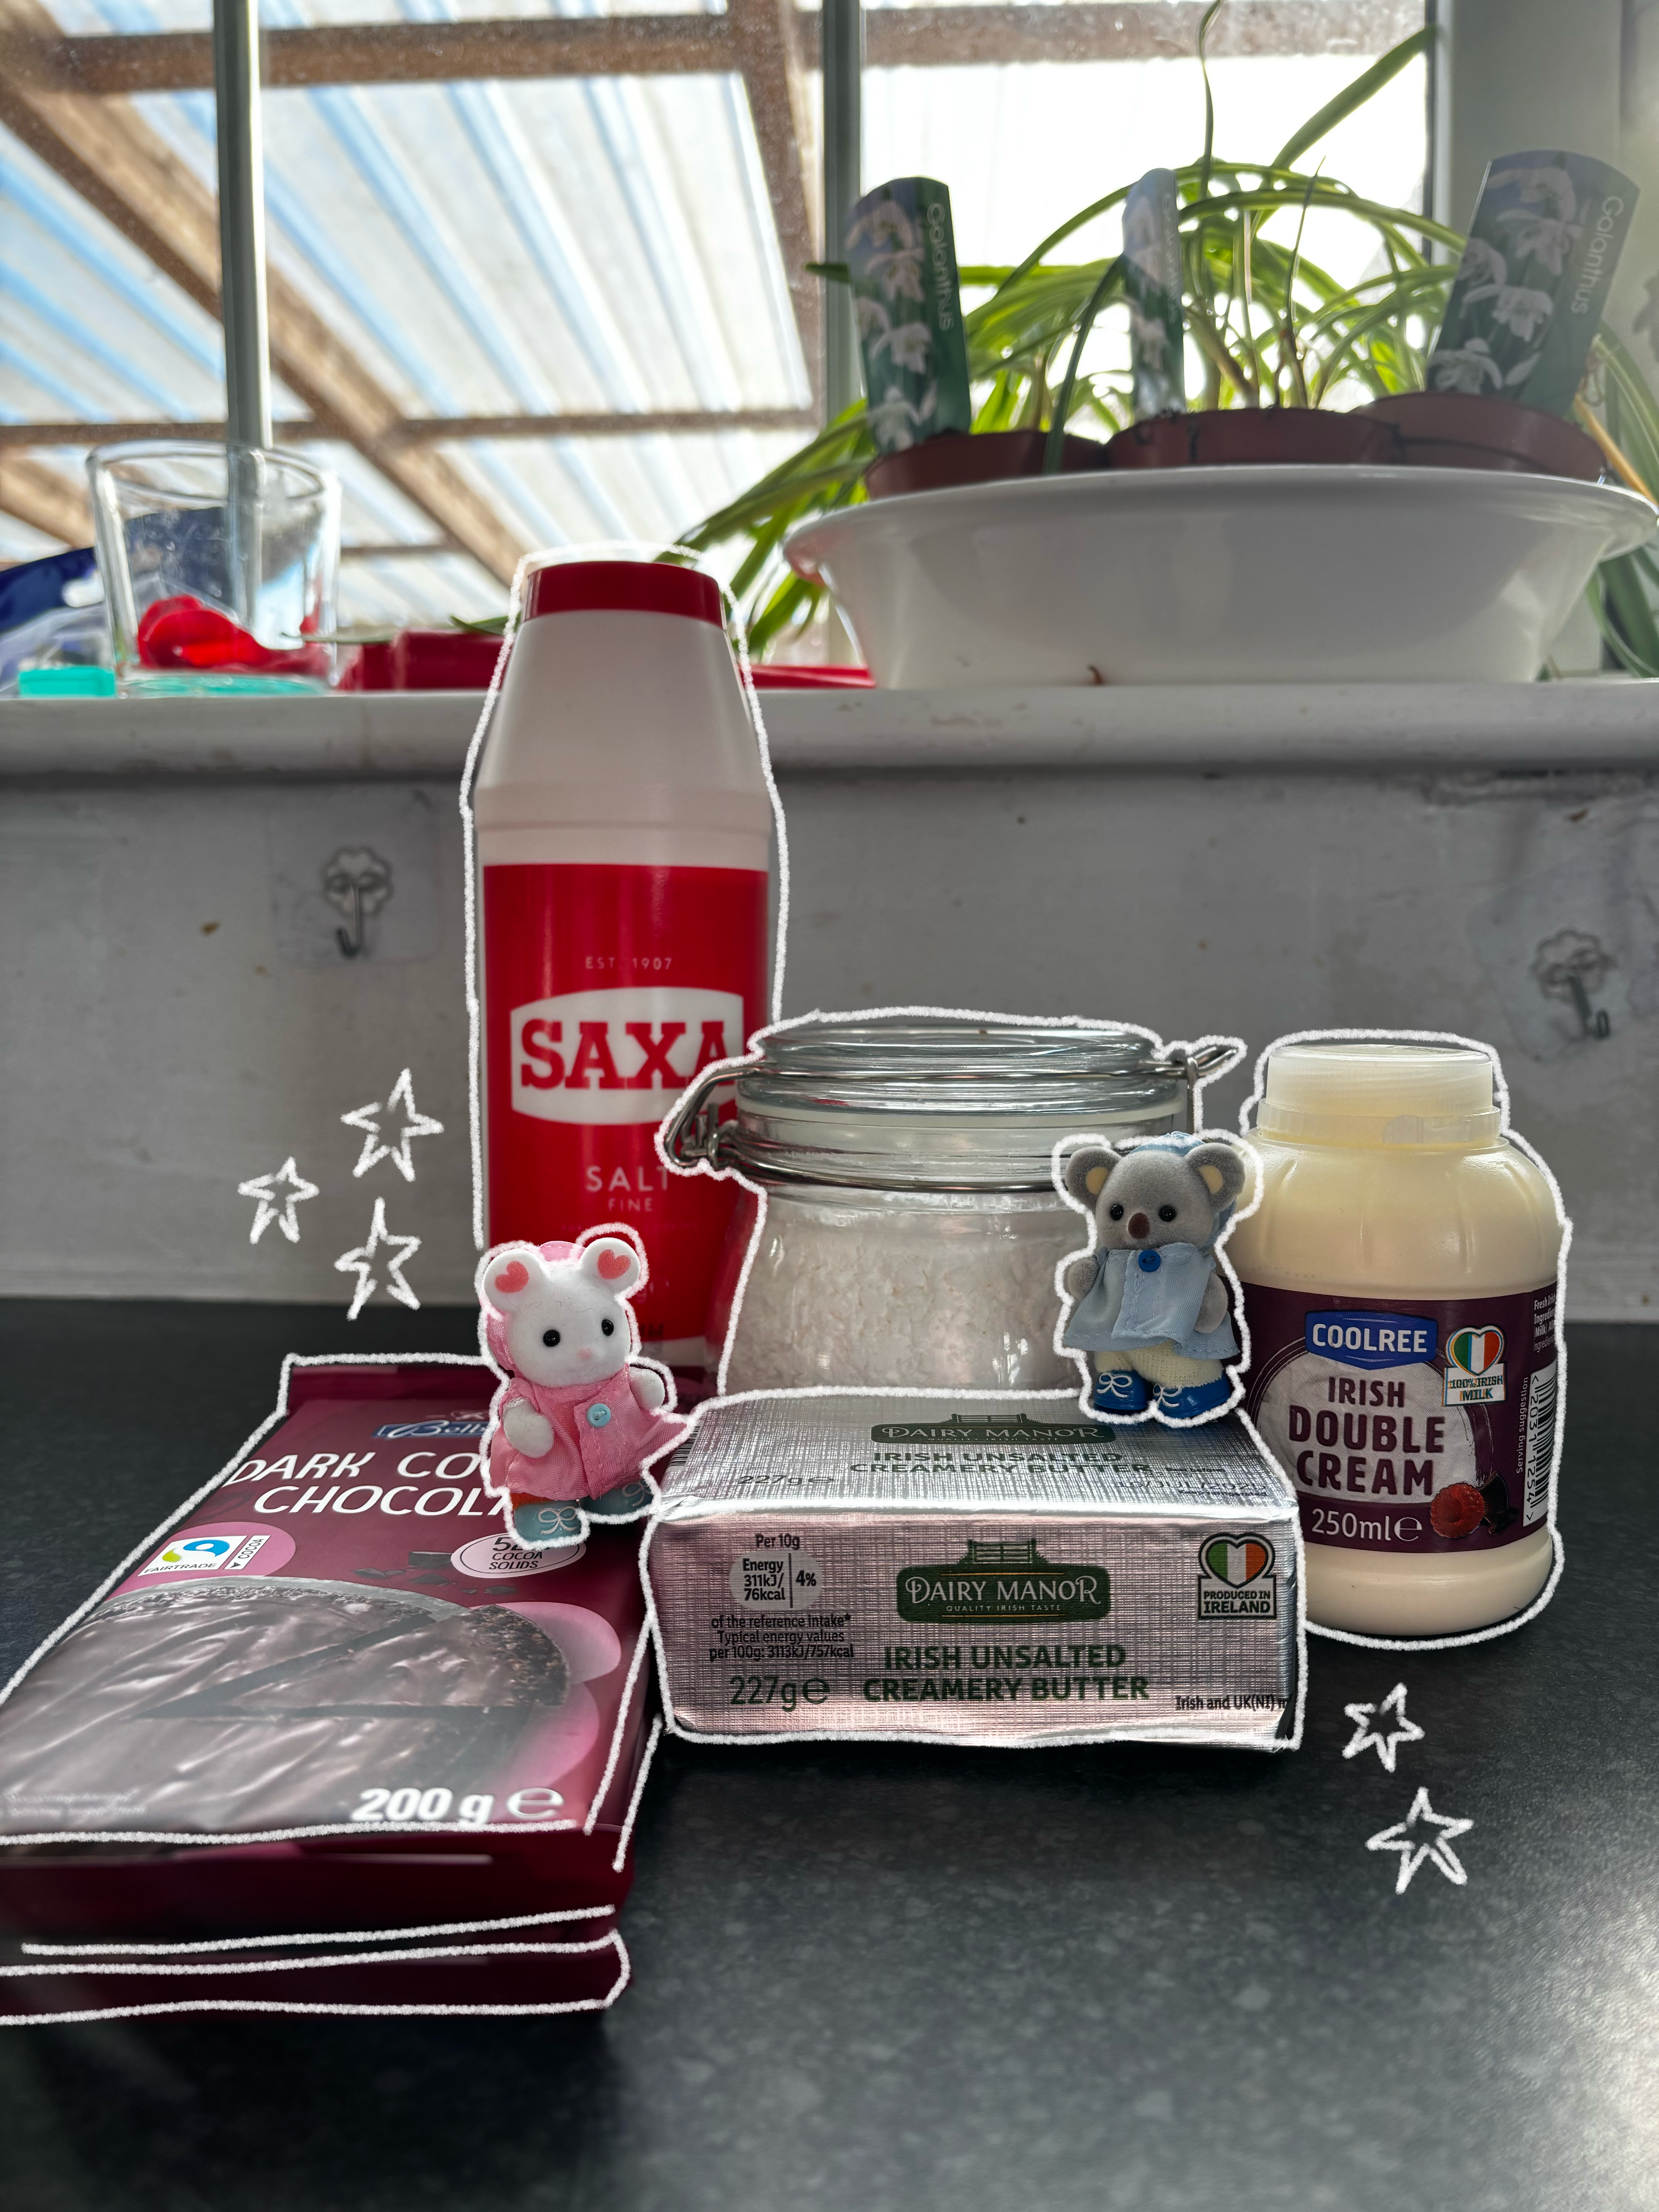
Last week I decided I wanted to practice my sewing, I wasn’t sure what to make so I spent a while looking for some ideas and found a video by JaniesDaisies on YouTube titled “diy felt wallet: a beginner friendly tutorial”. I already knew all of the stitches and had spare materials left over from sewing projects I did a while ago, so from there I just had to decide on my design!
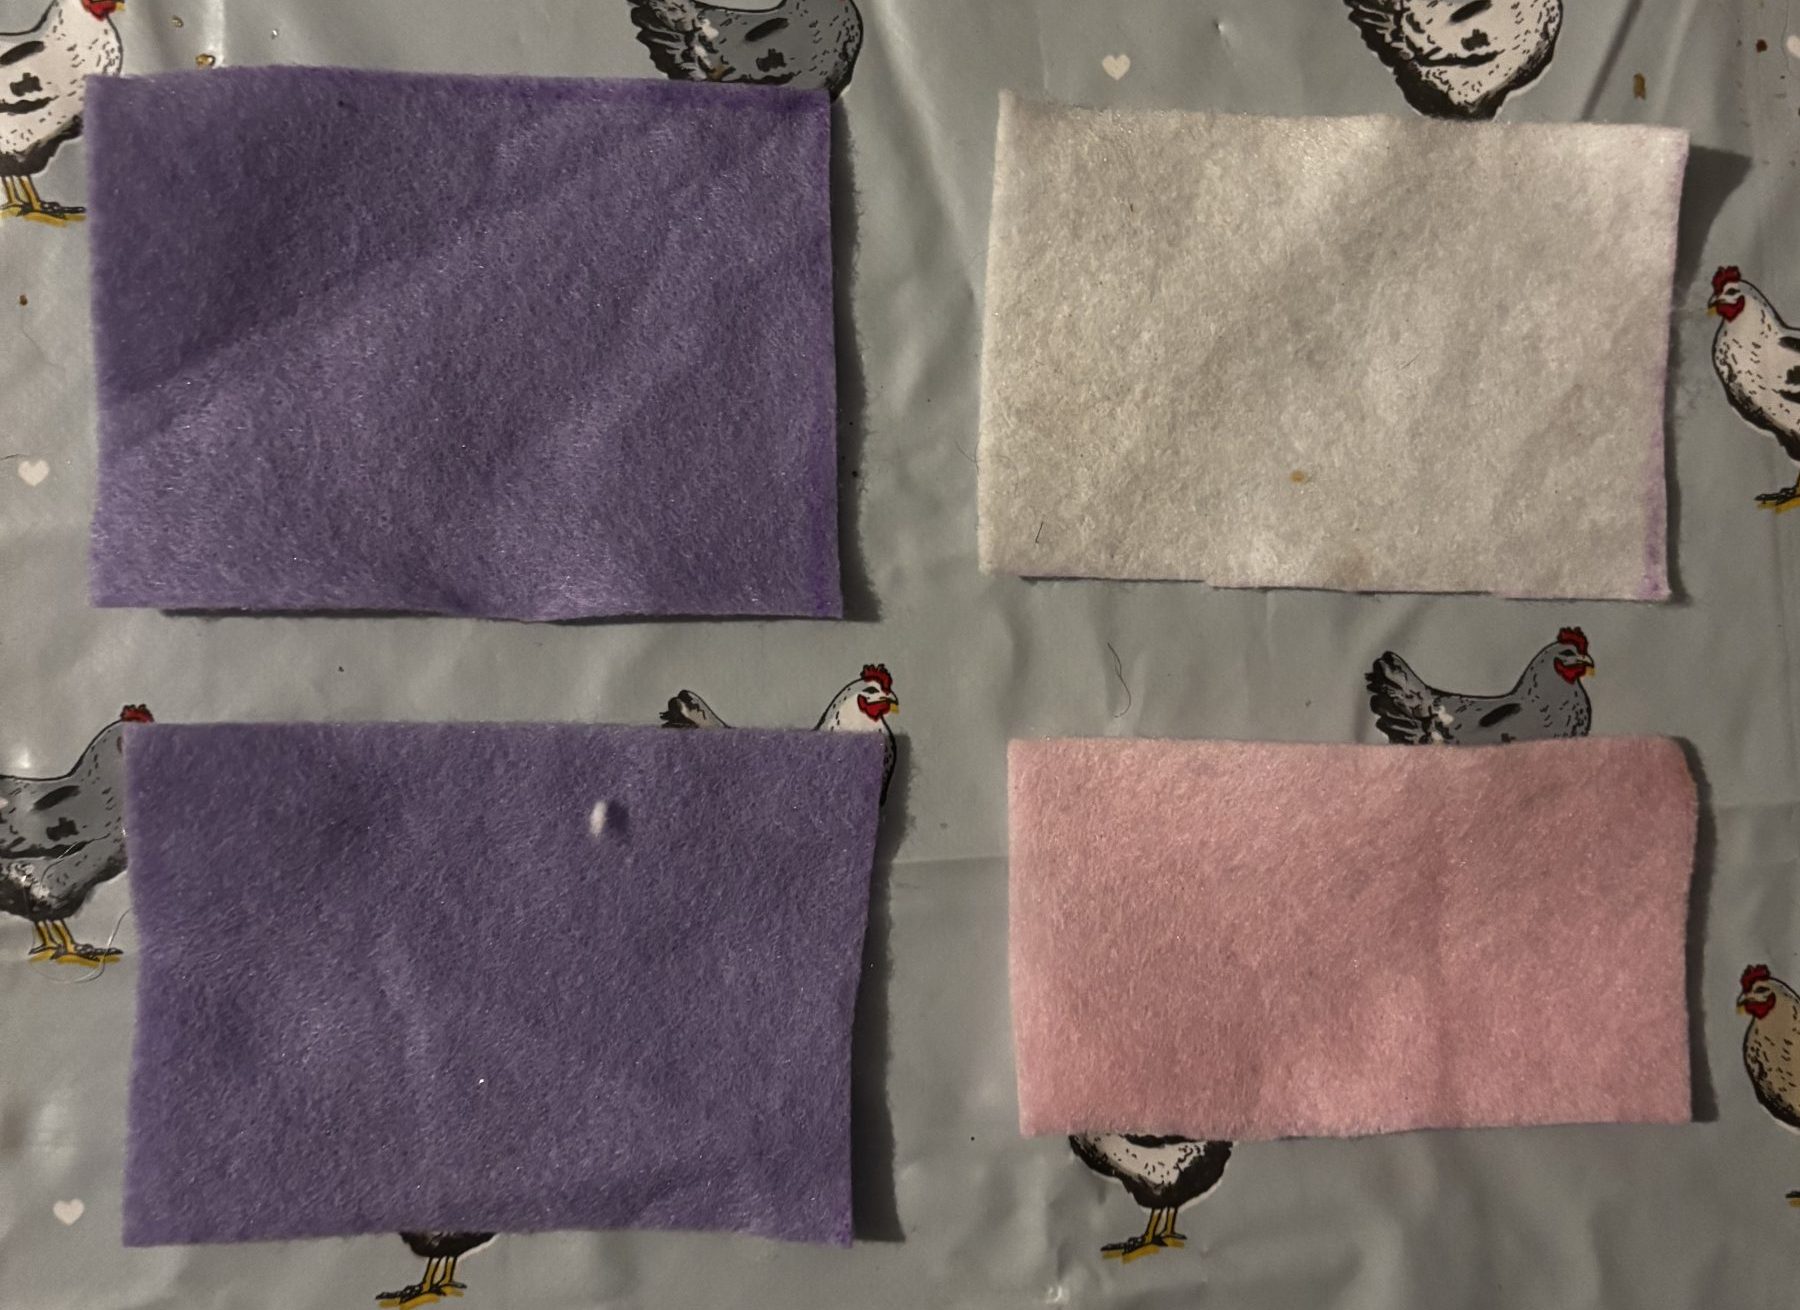
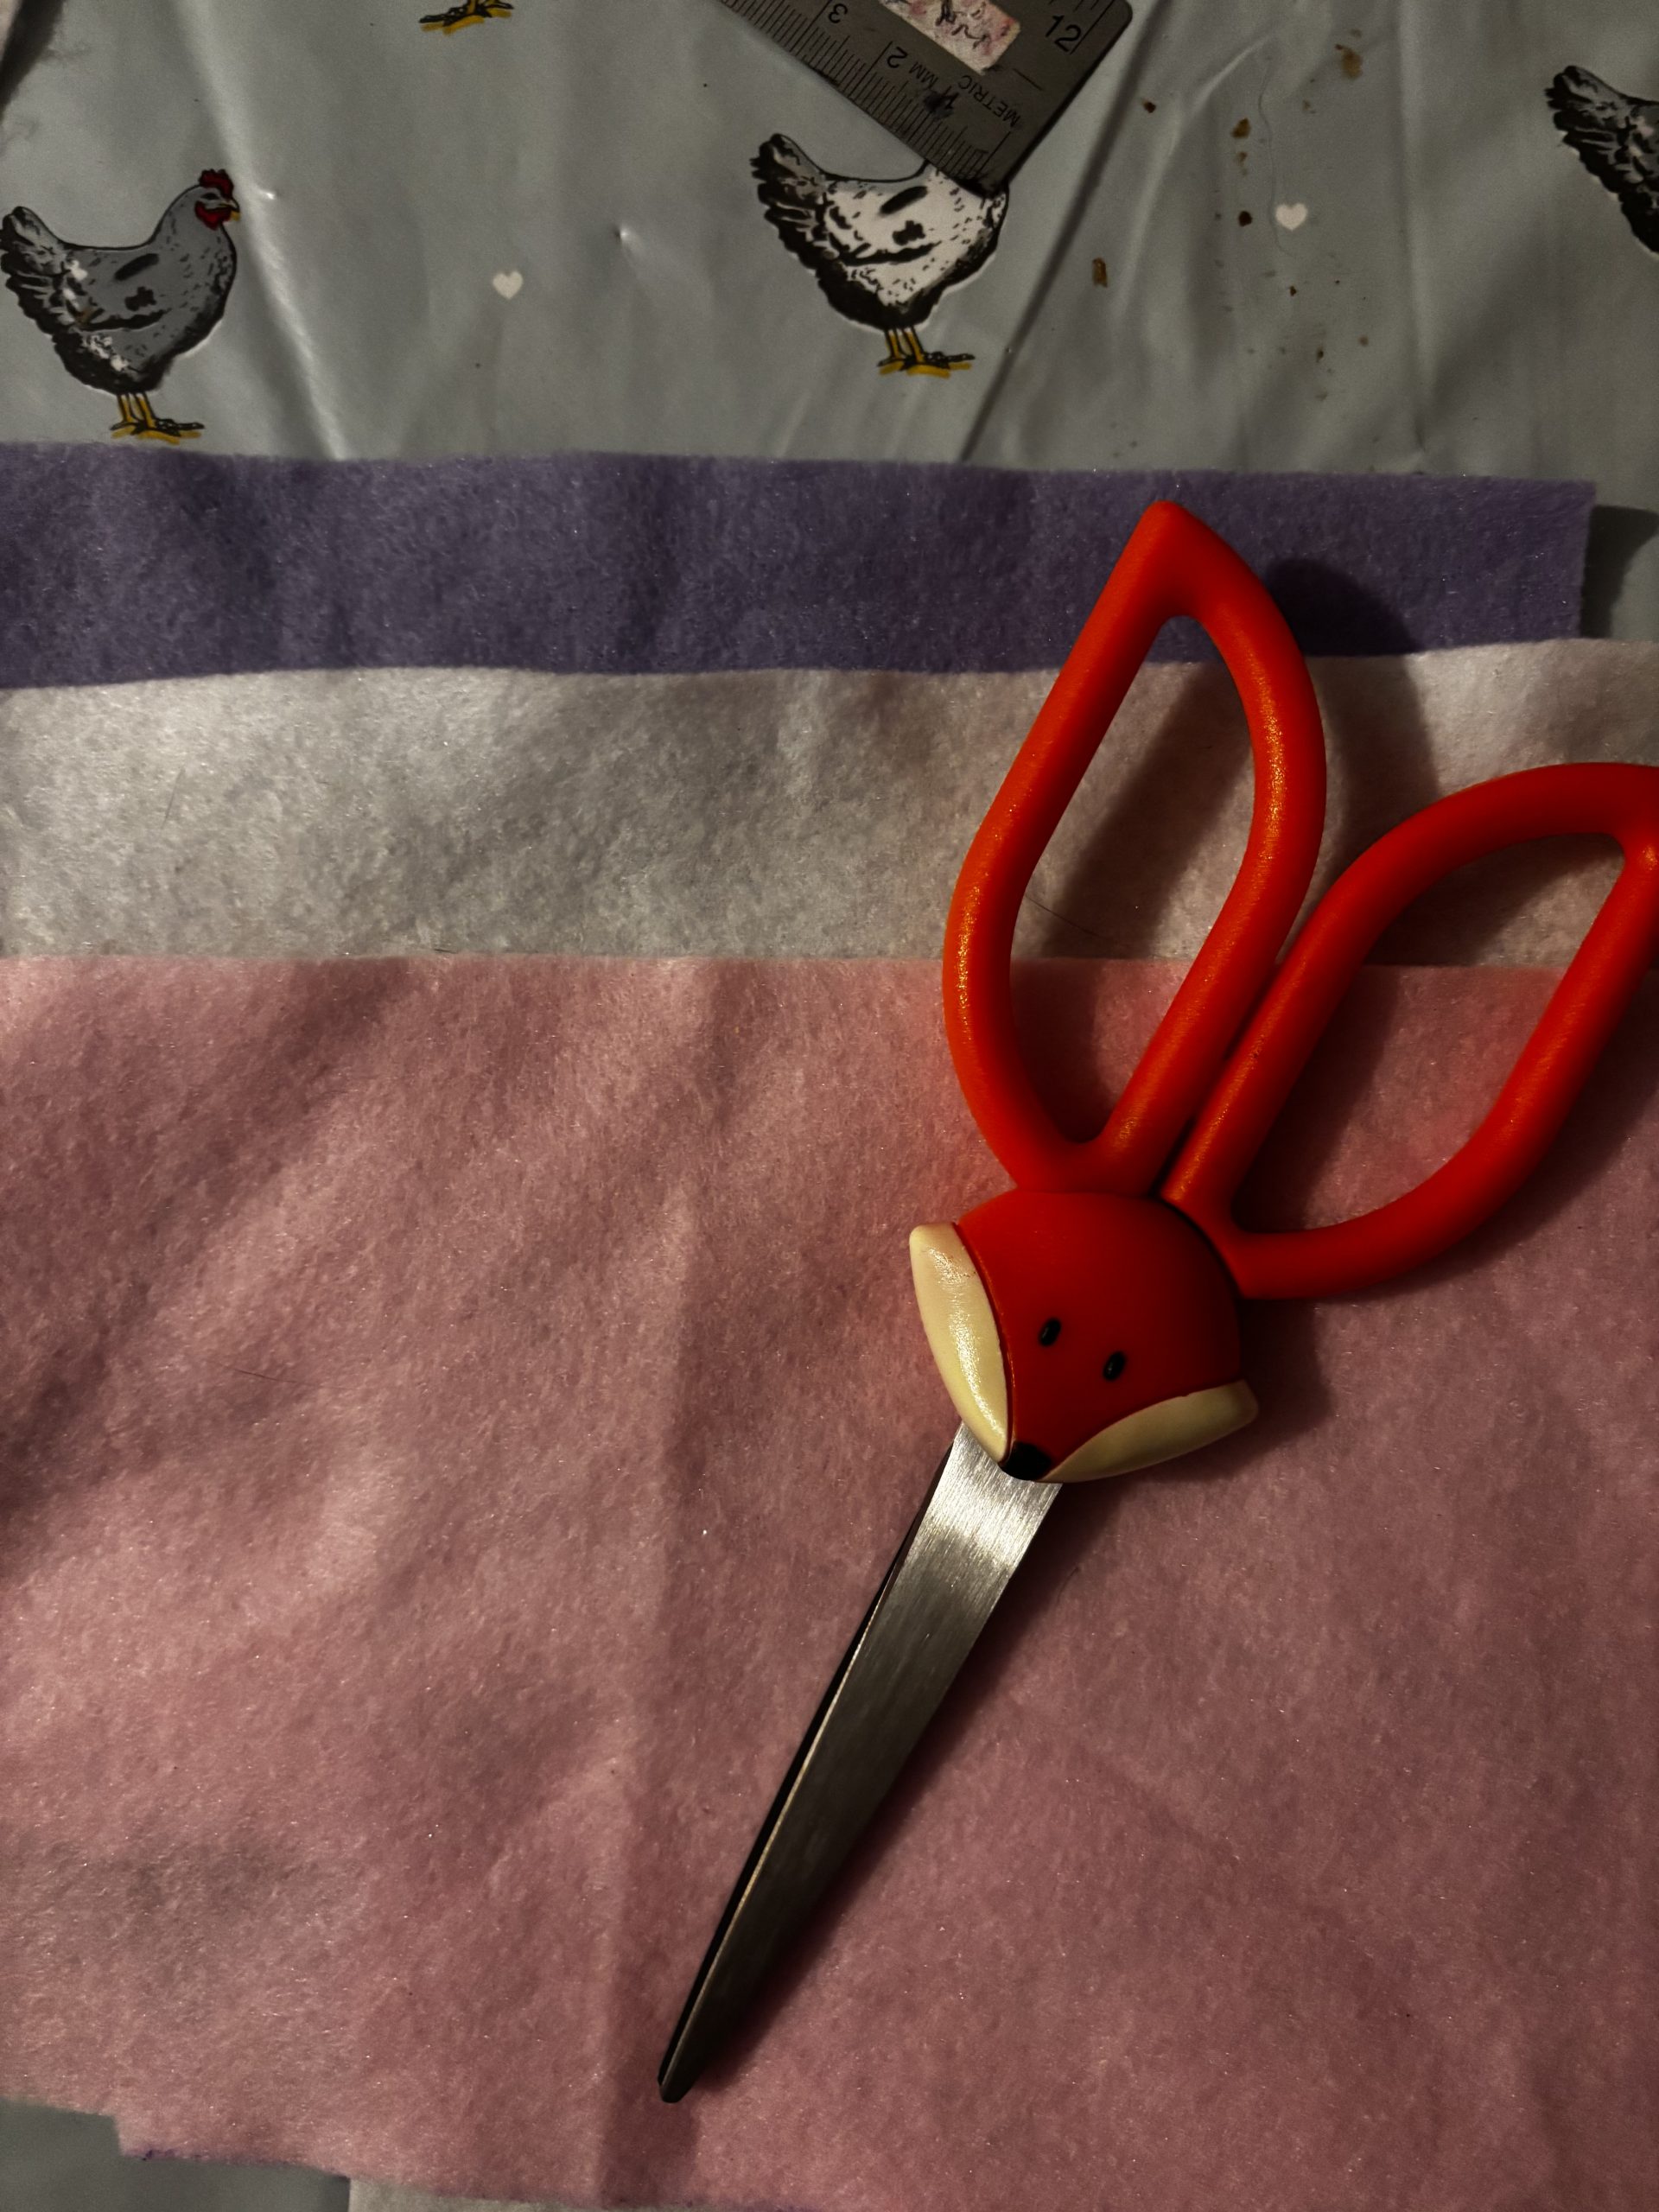 I had some pink, white and purple felt that I thought would look nice together! I cut them out to the sizes said in the video.
 Now that my fabric was cut out for the base, I had to come up with a design to put on the front, I had some spare black and white felt and knew I wanted to add an animal, I had a few different ideas but decided to go with a sheep which fit nicely especially as its the start of spring
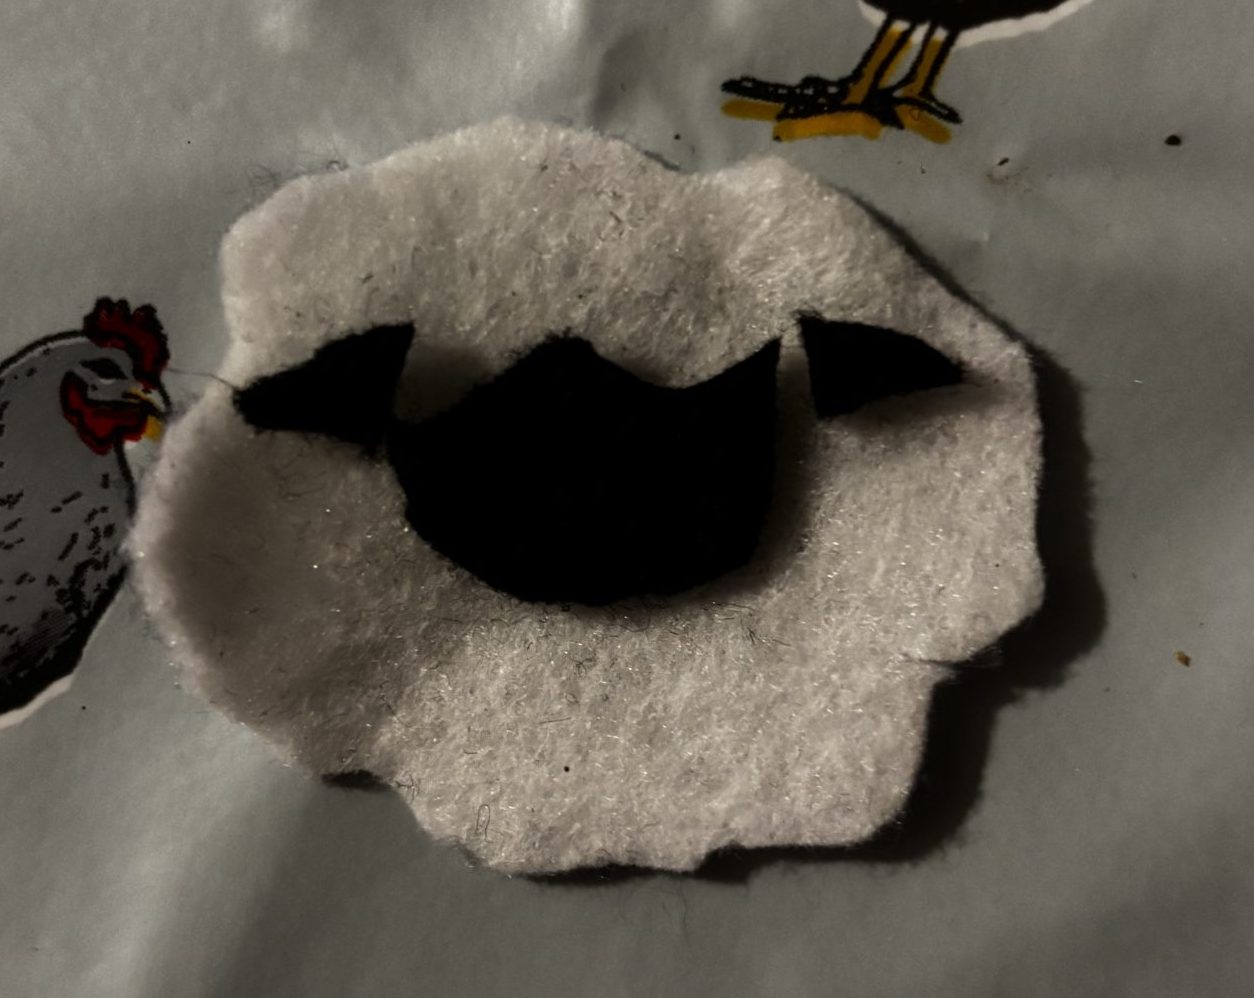
I cut out my sheep and used some fabric glue to put the parts together seen as they were so small stitching them on would be difficult and wouldn’t look as nice with the design.
My sheep looked a bit lonely on the front all by itself so I decided to add some extra details! A bow I made with some ribbon, some little lines I embroidered beside my sheep, two diamonds and lastly I used French knots and a straight stitch to give my sheep some eyes and a nose which made him look much more friendly!
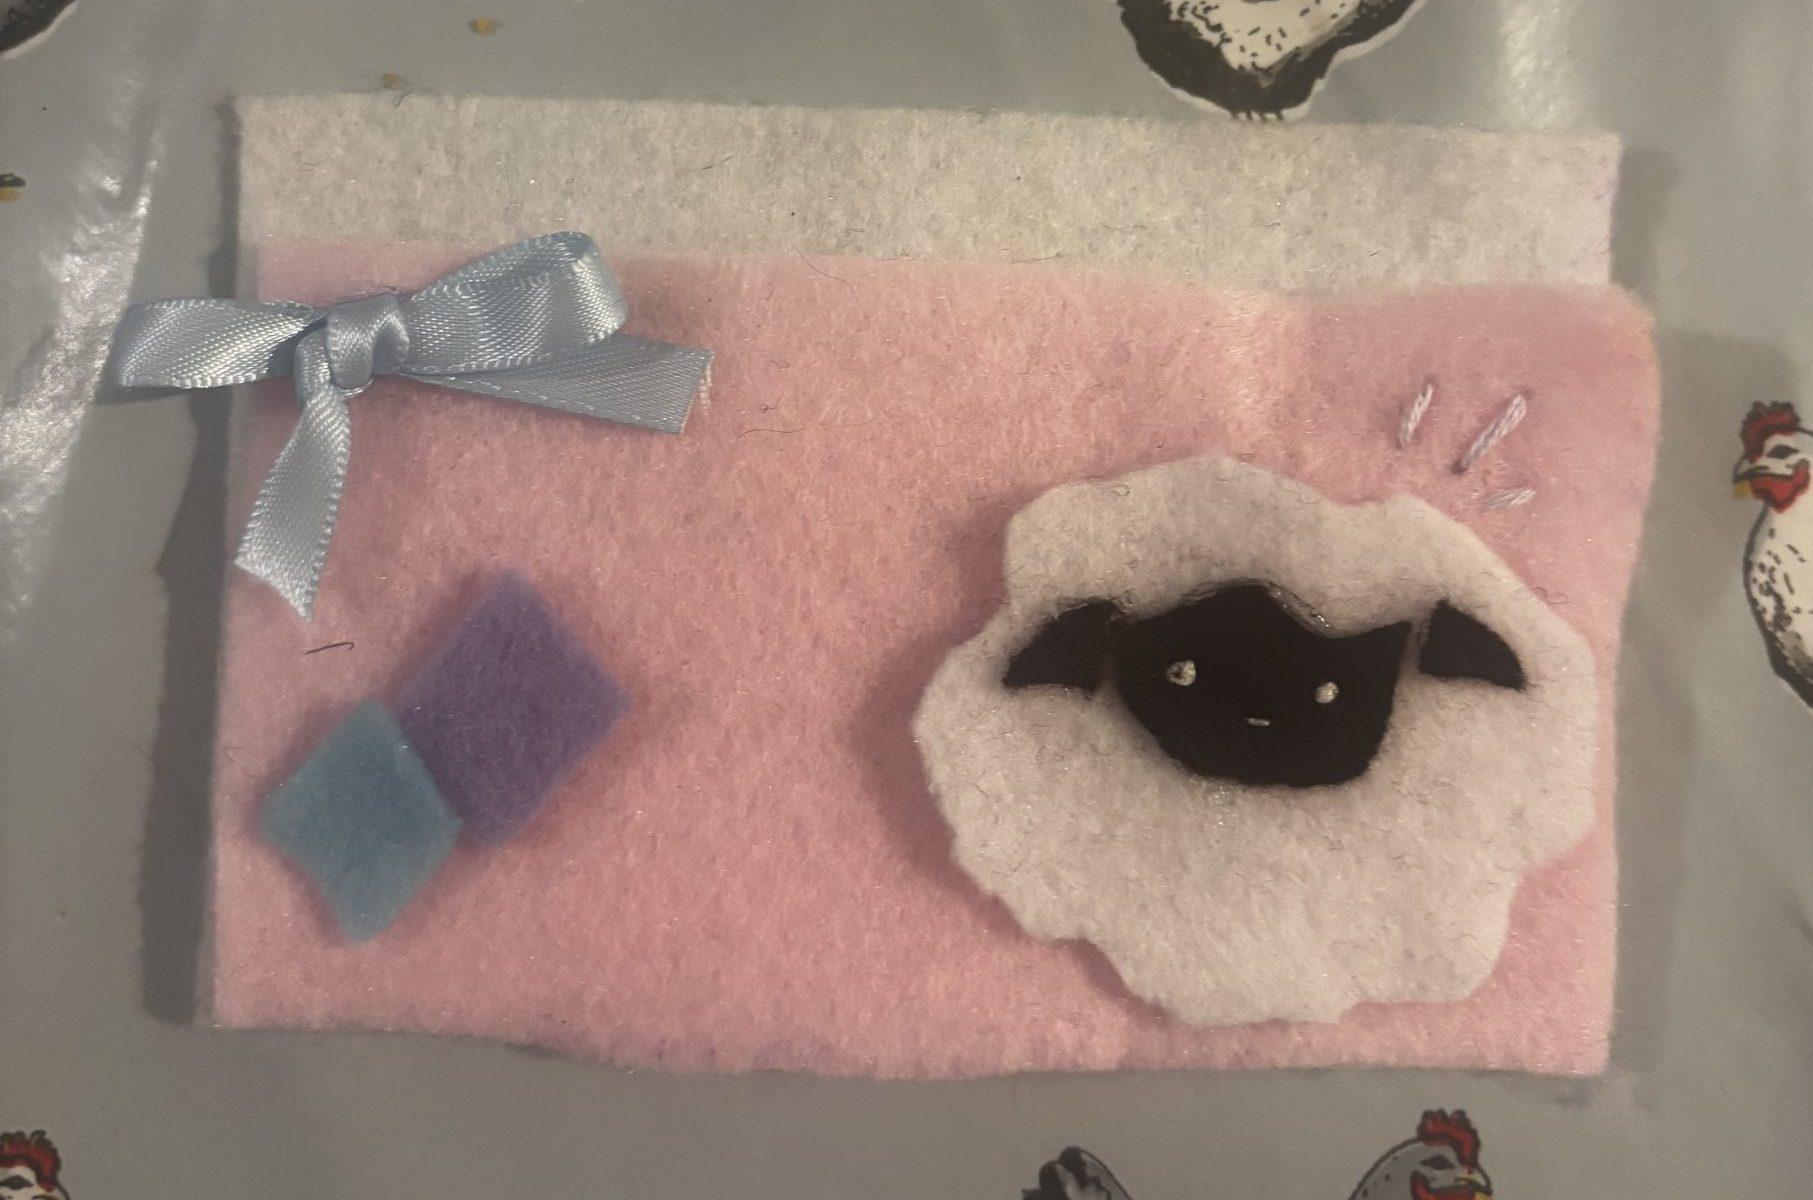
Now that I have my design ready its time to start sewing the card holder together!
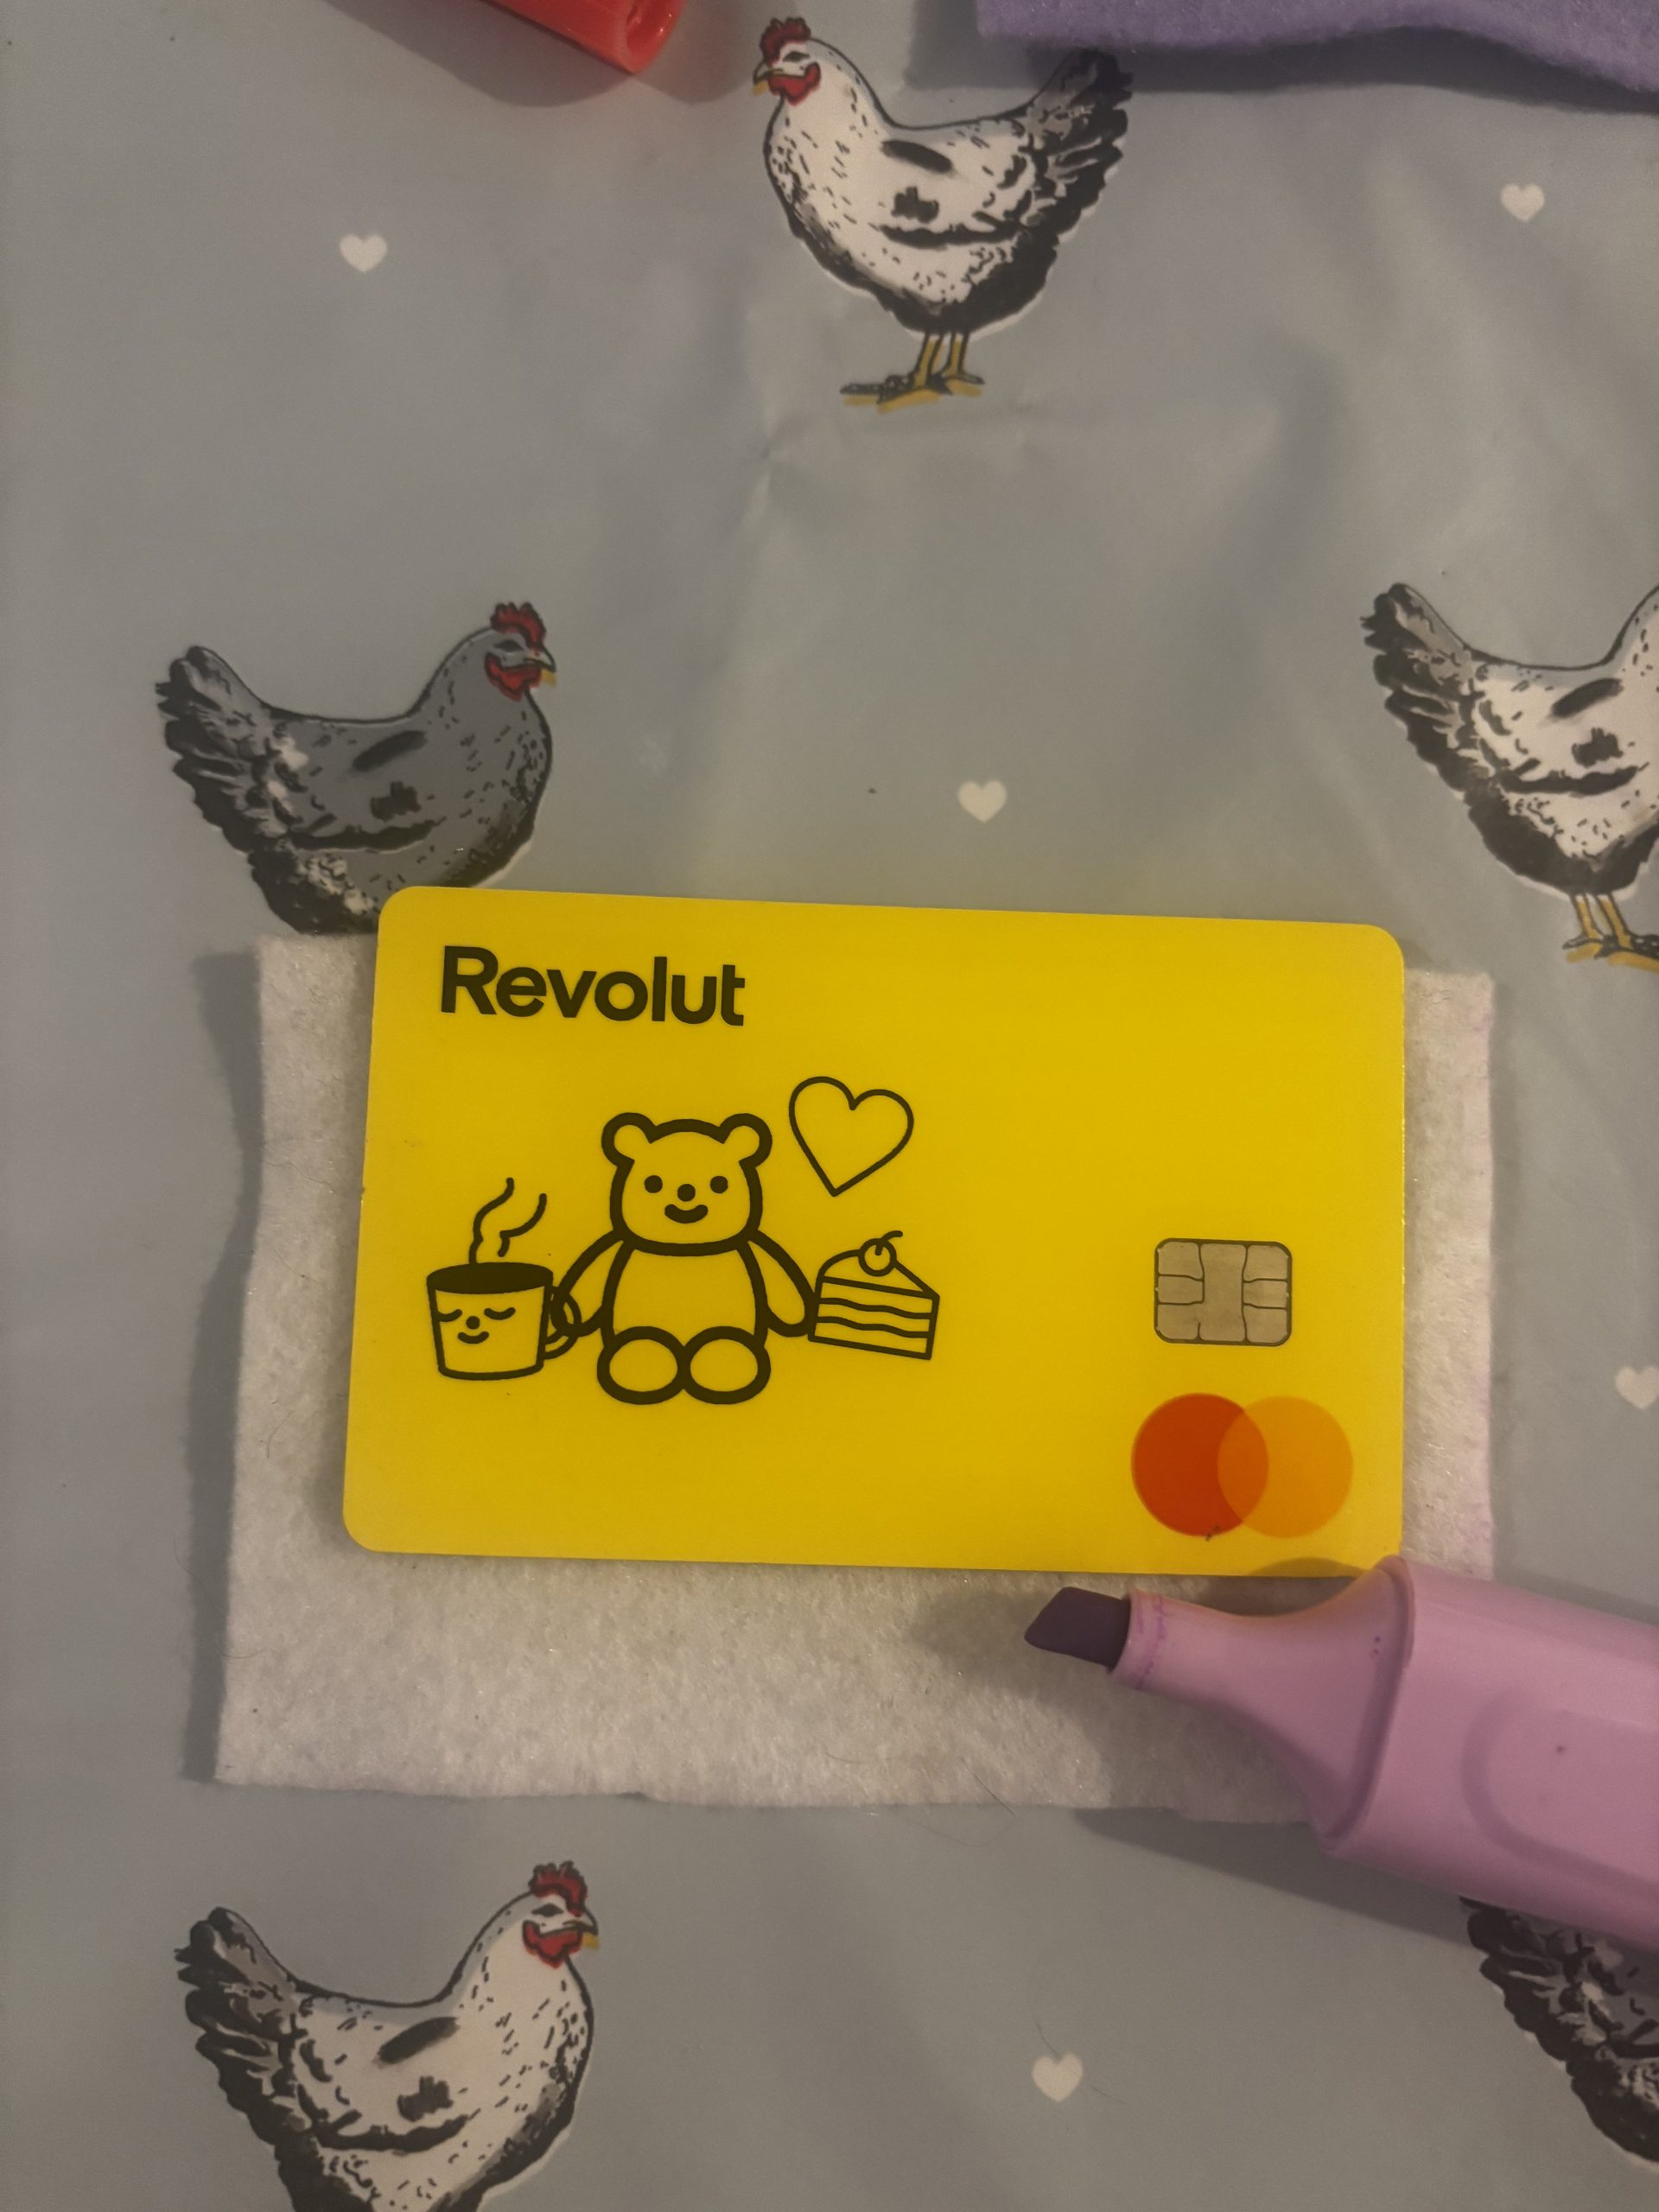
I used my card to measure out where my stitches had to go, once I had my guide drawn out I began to use a straight stitch to attach my middle pieces! This part wasn’t going to be visible on the outside so I didn’t have to worry about how neat it was.
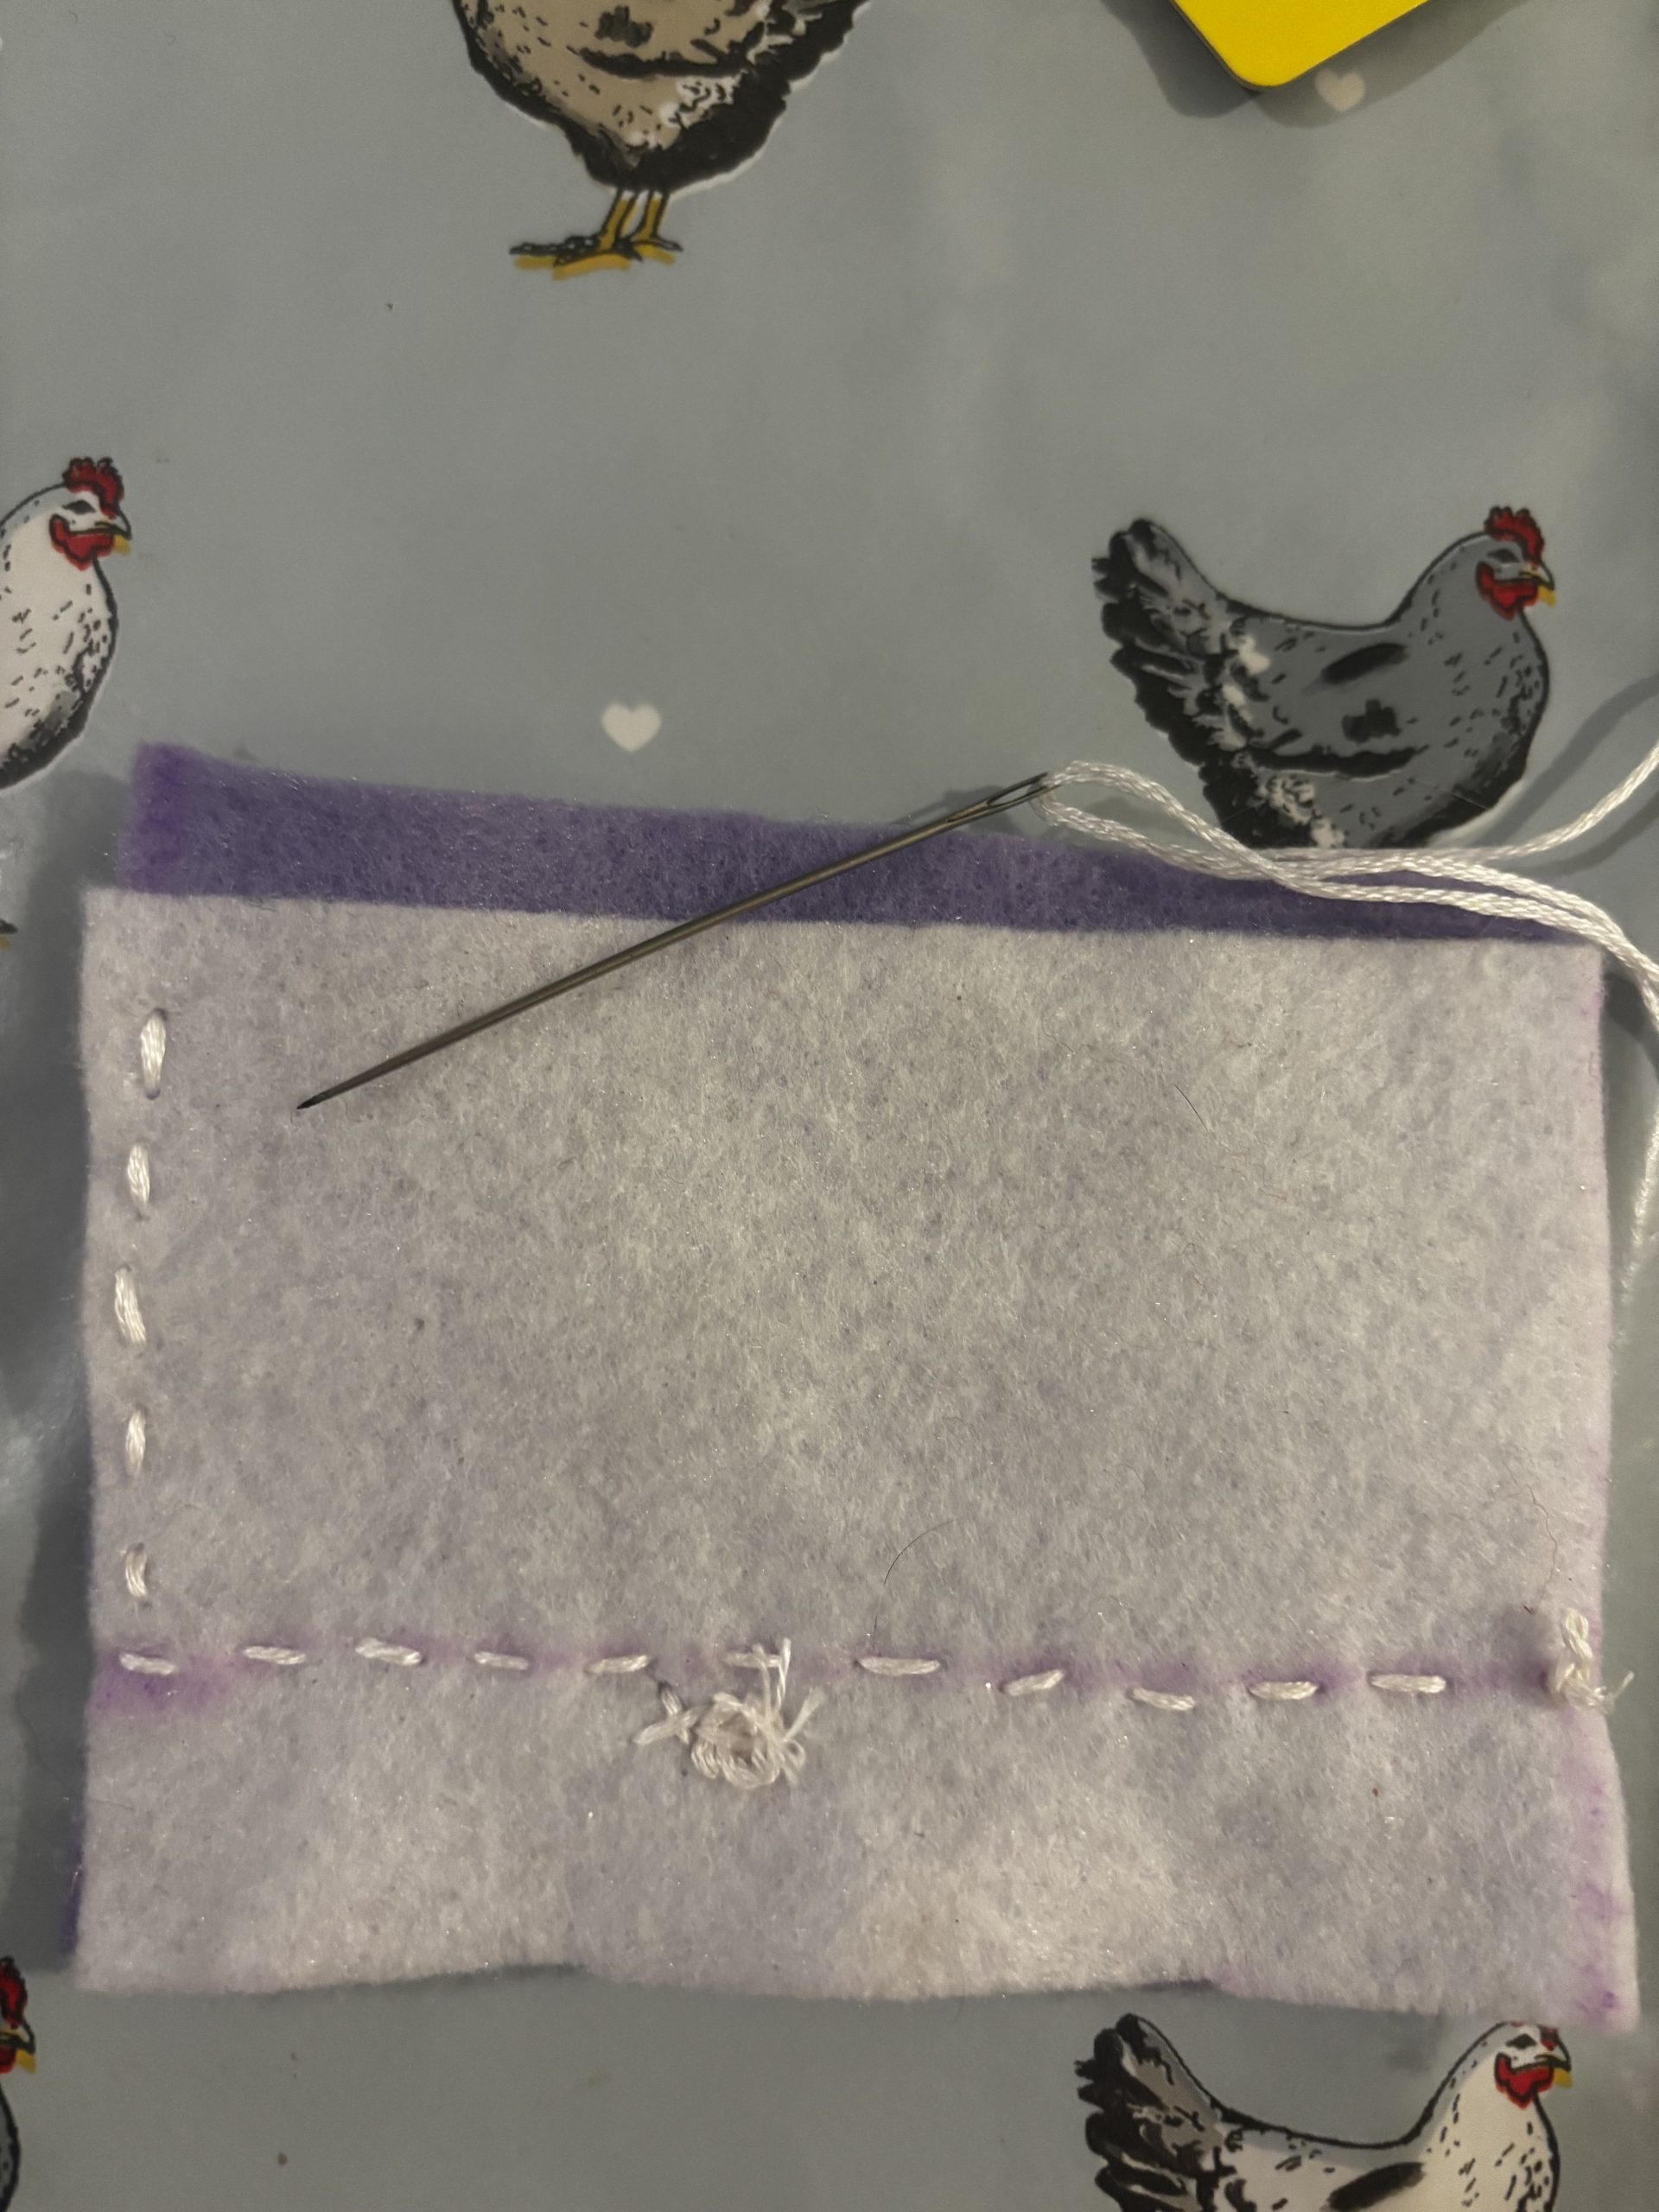
Once I got to the top it was time to start my blanket stitch, at the top it’s used only for decorative purposes but at the sides it will be attaching the rest of my felt pieces!
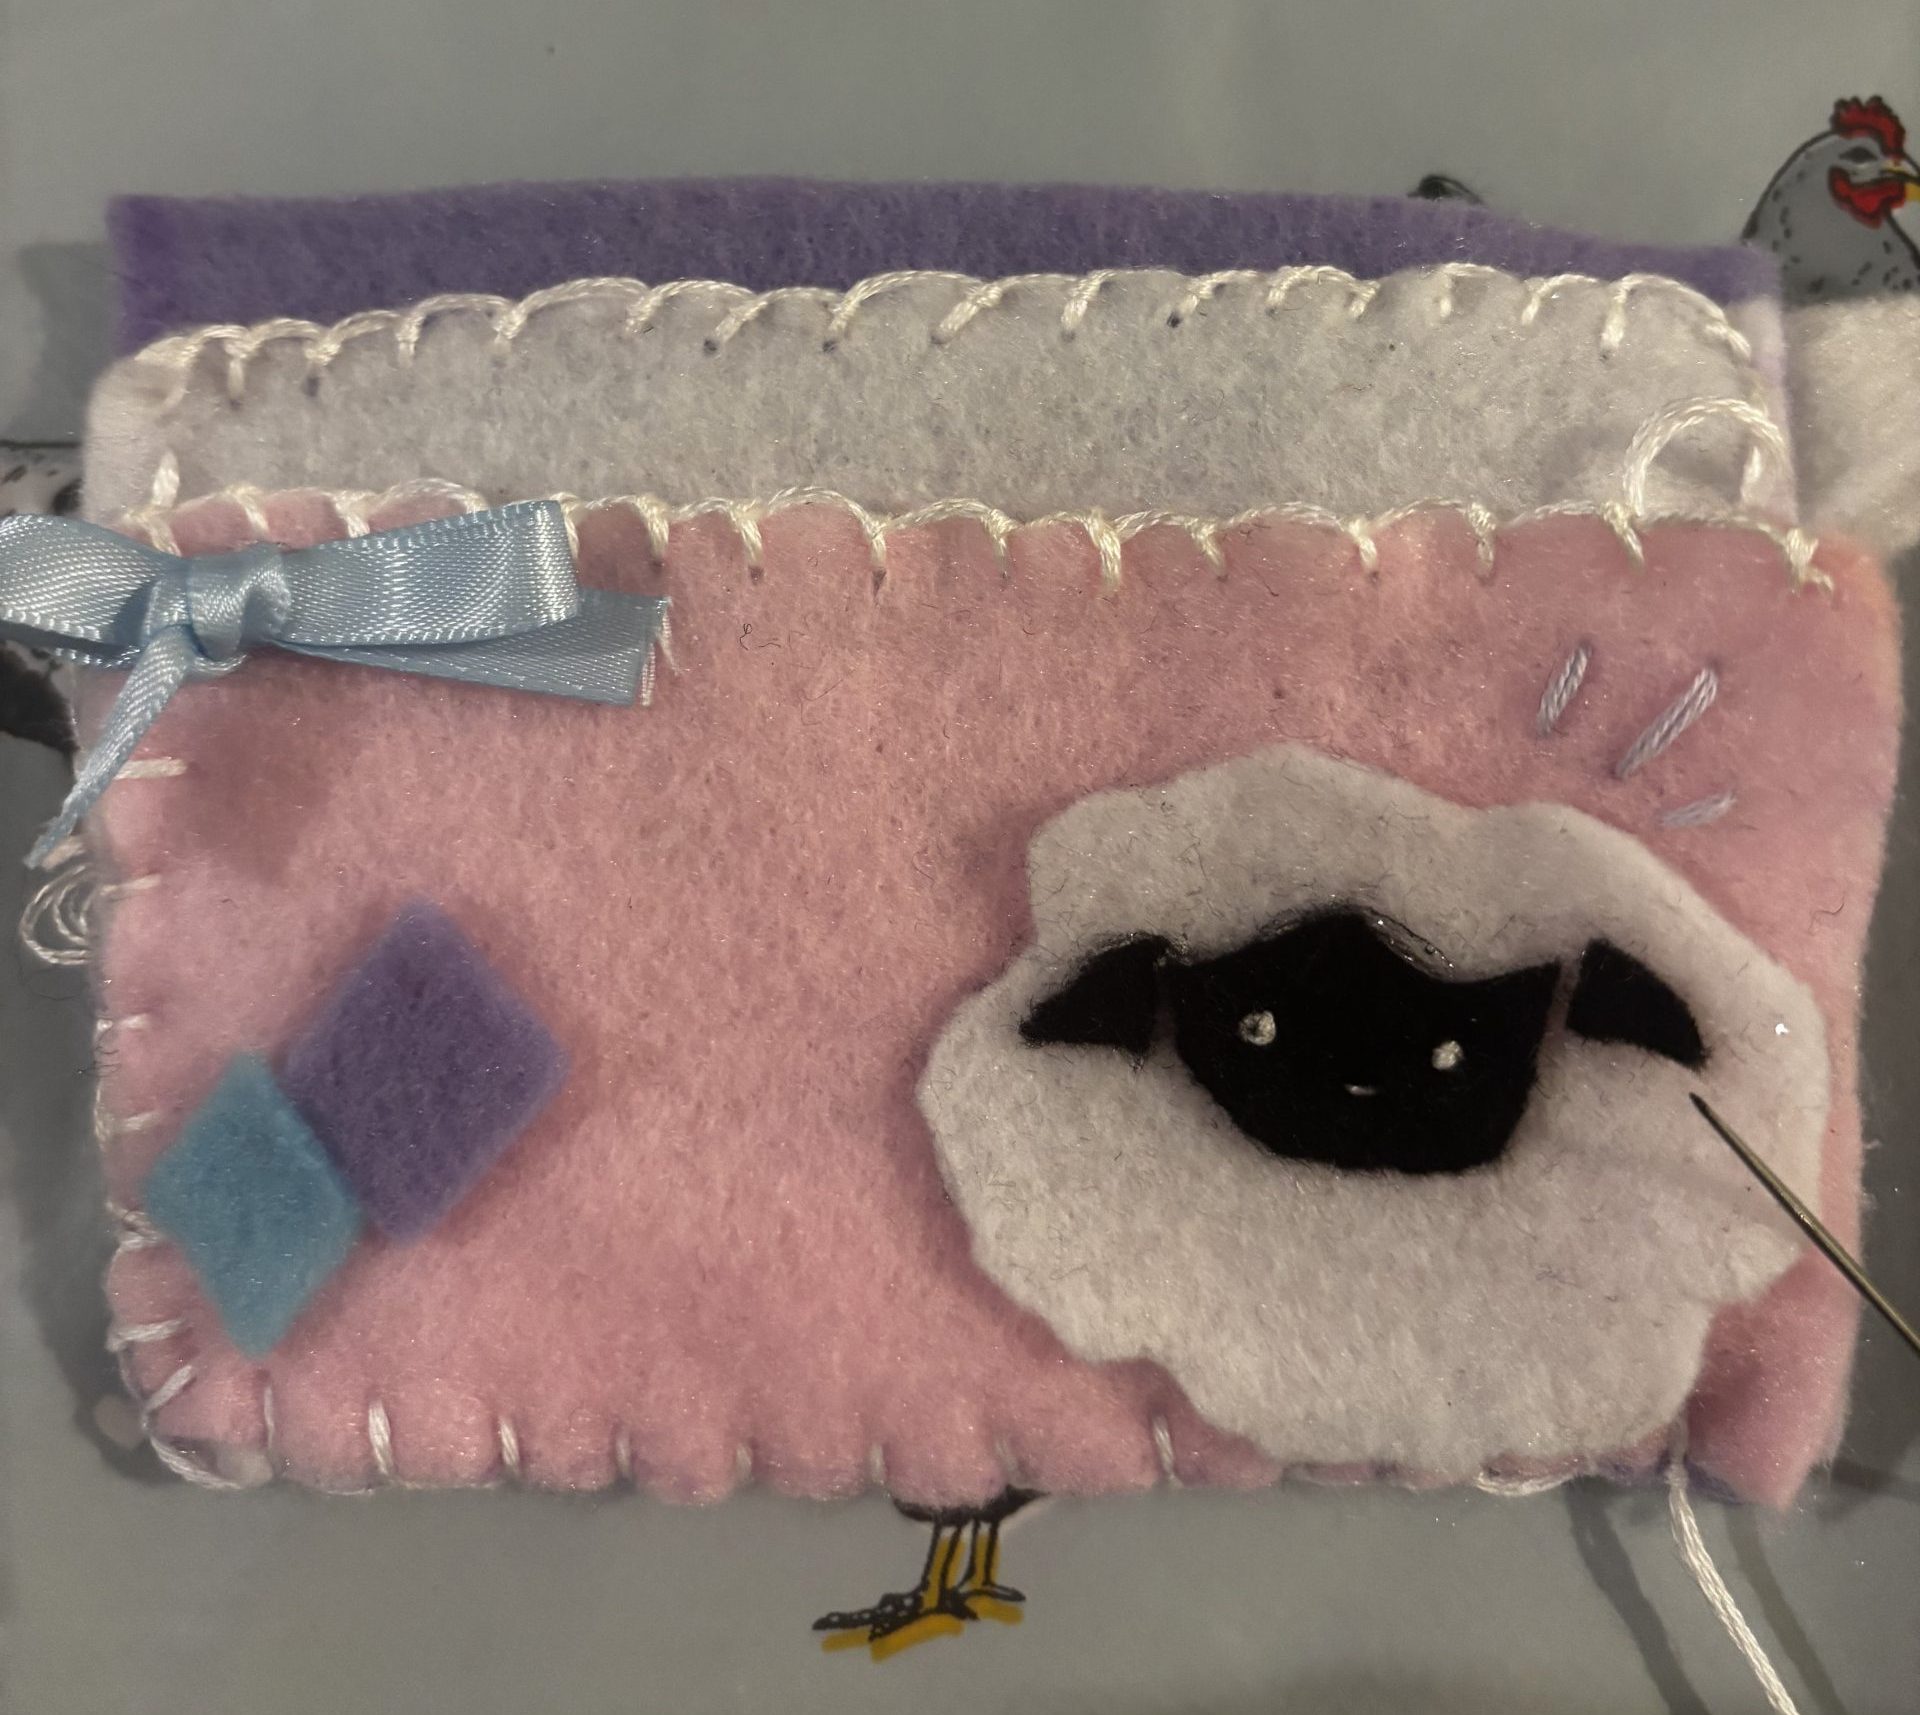
The blanket stitch was the final step for making this felt card holder! It was a lot of fun to make and I definitely want to try out some more sewing projects like this!
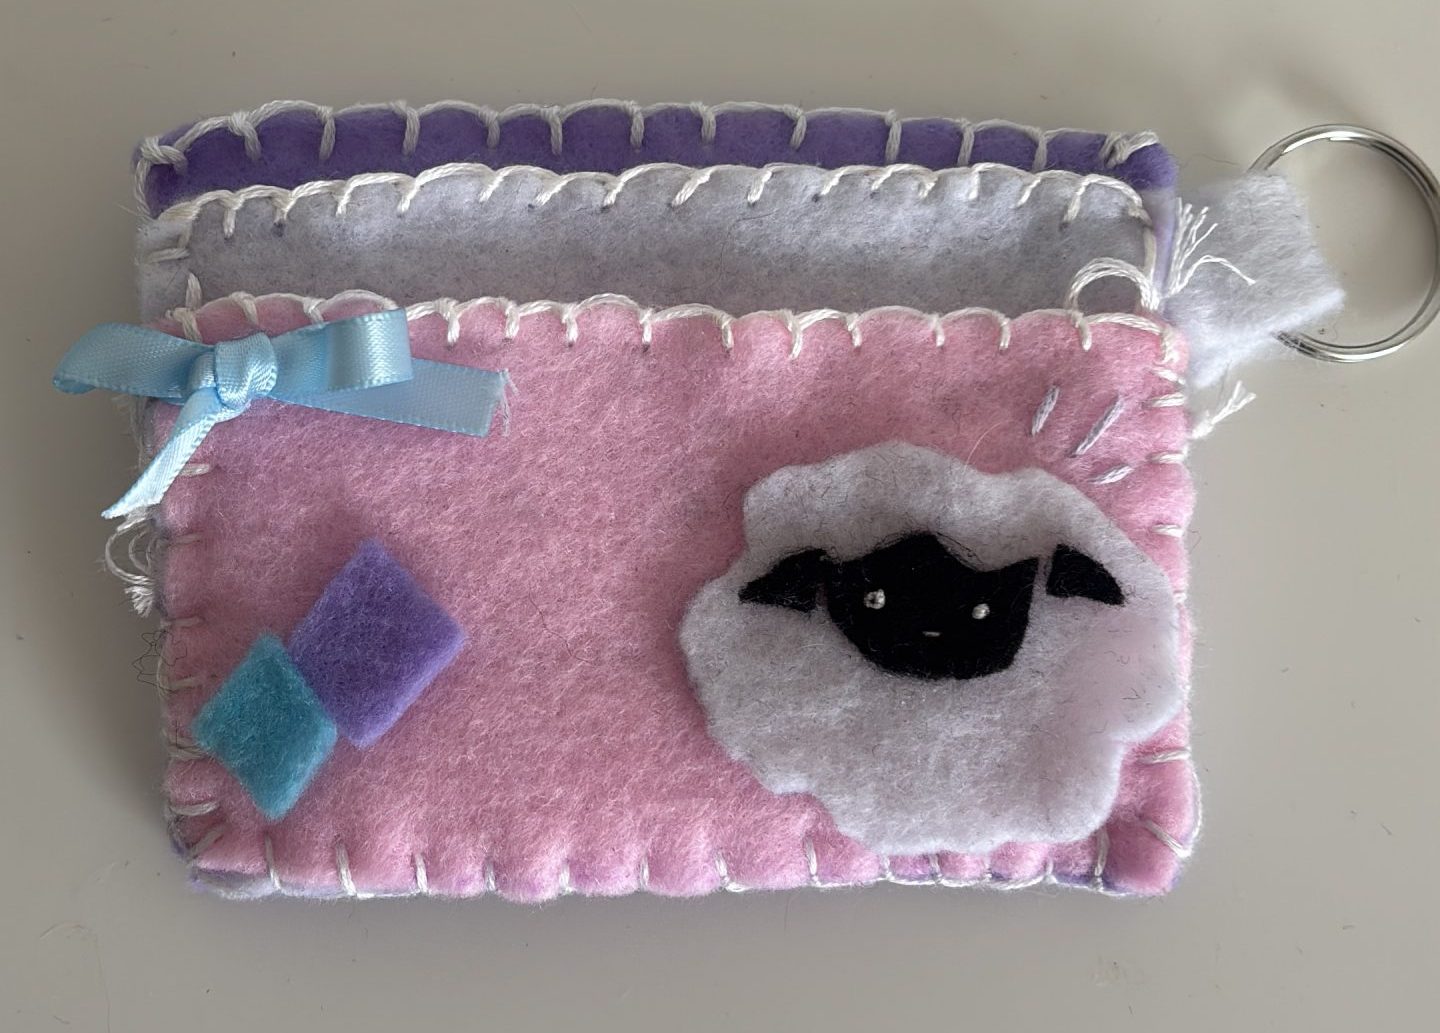
the finished card holder
